I’ve got a few emails and questions regarding a Curled Paper that was included in my Thinking Of You page Kit.
This curled paper comes in .png file format so you can use it as is but also it comes in layered .psd format so you can add your own paper, texture or even a photo and there were a a few questions I received on how to get it to work.
So I decided to post a public tutorial here now.
The screen shots below are made with Photoshop PS CC but for Photoshop earlier versions and Elements it should work the same way or in any other graphic program.
And my program is in German language but you should see on the screen shots exactly what I’ve made 🙂
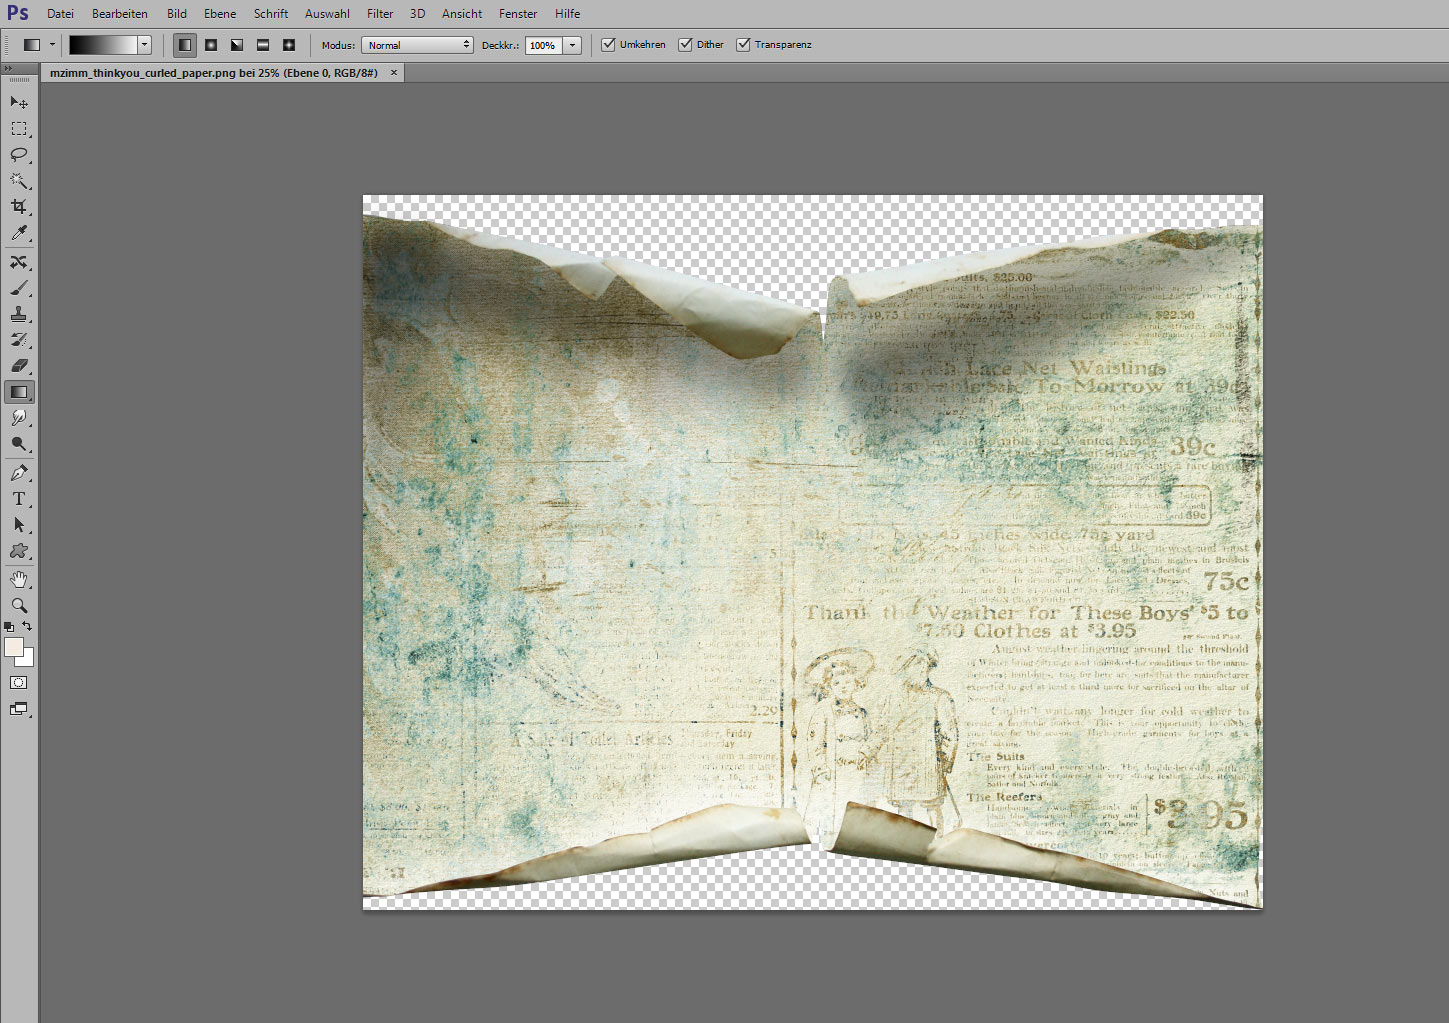
This is how it looks when you open the .png curled paper – you can use it as is – add elements or any embellishments above it:
>>> All images are clickable for larger view:
………………..
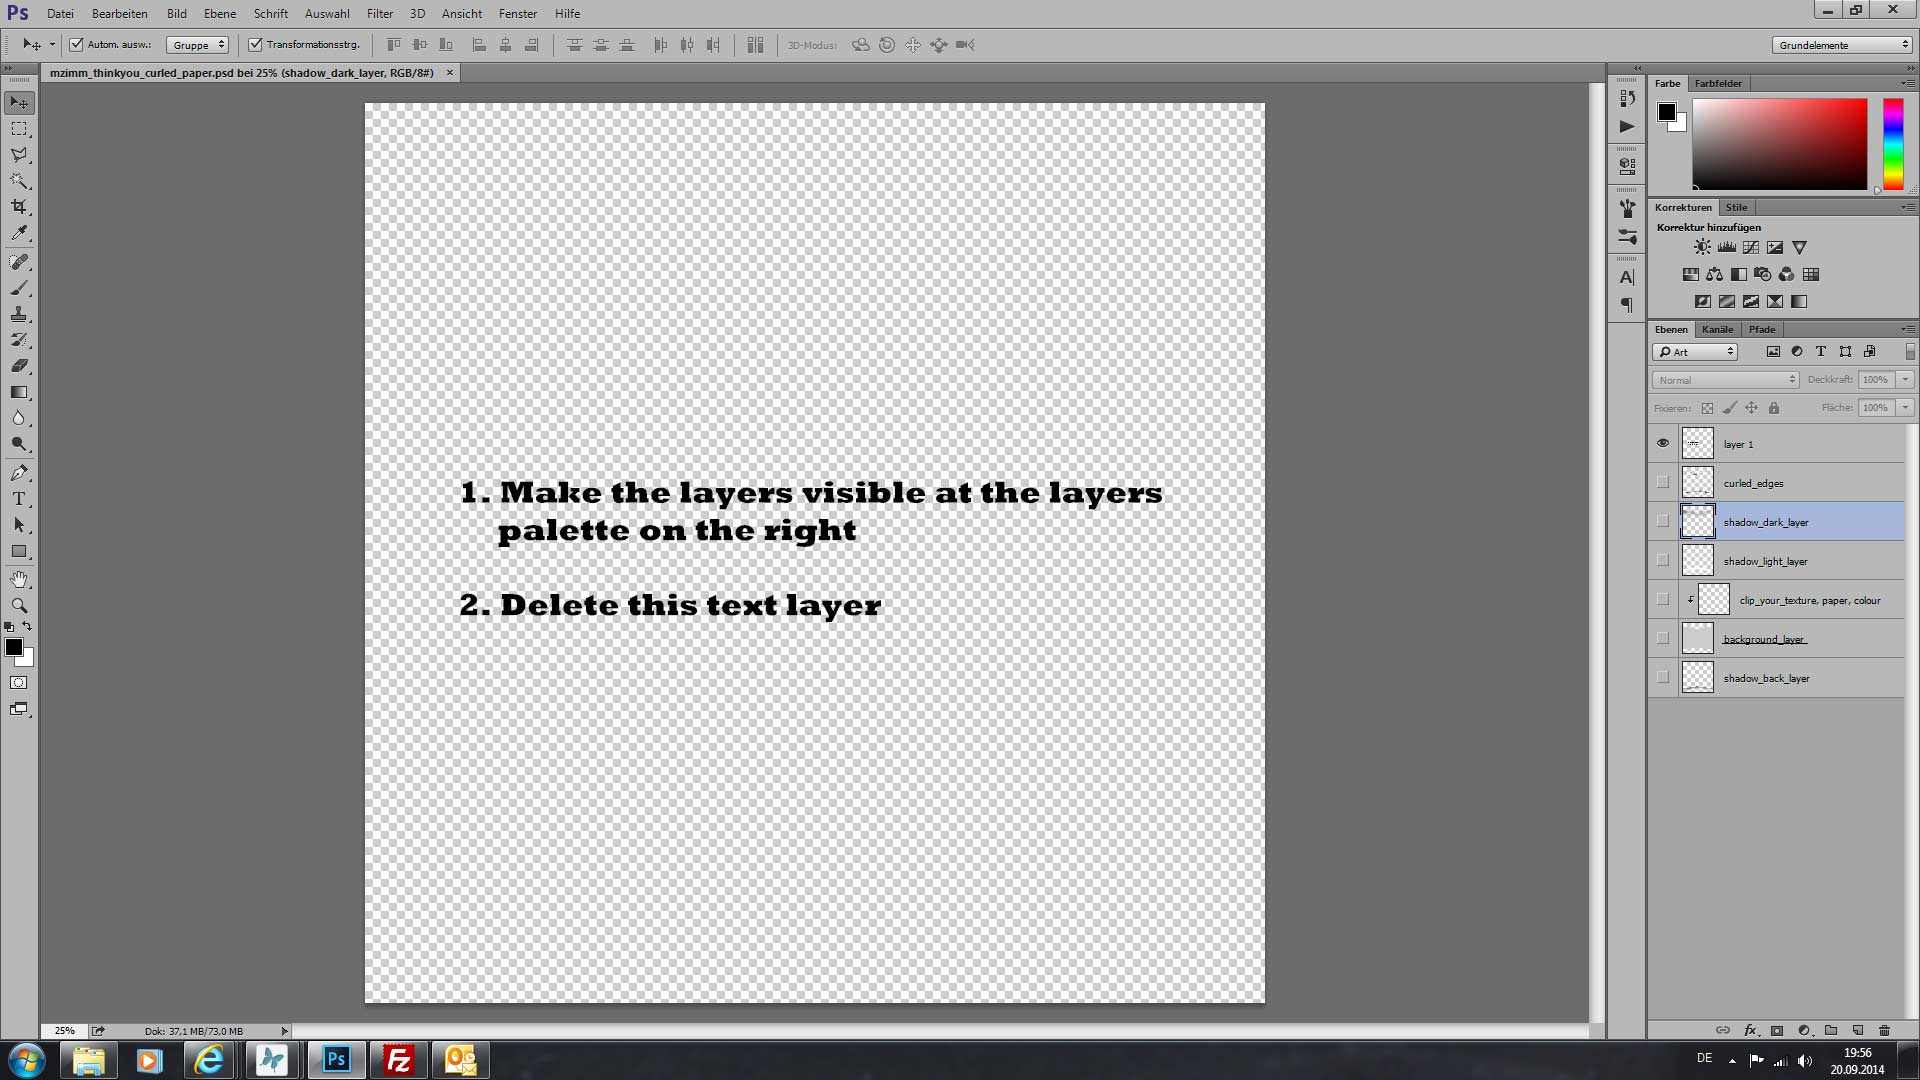
1st – When you now open the layered .psd version you have all the layers separate and you can add your own texture, paper or a photo:
If the file is open it should look like this:
………………..
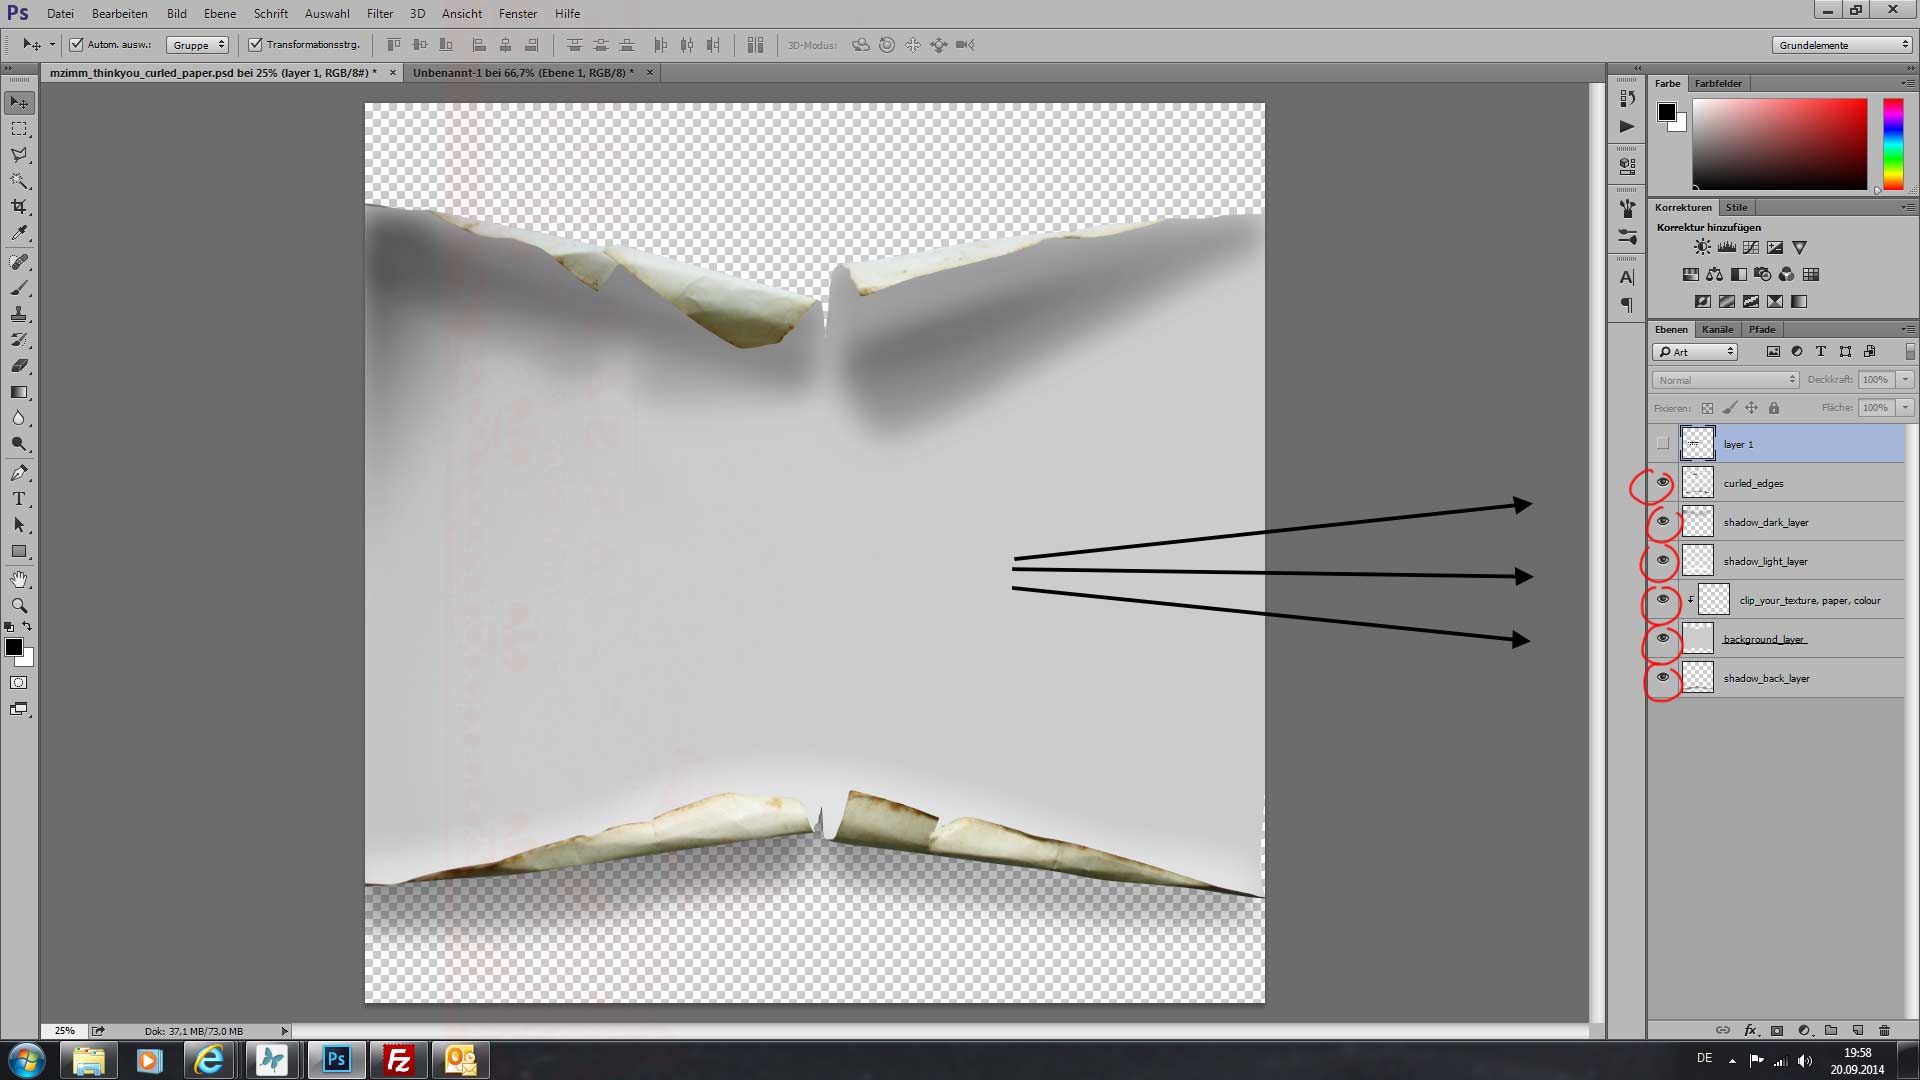
2nd – make all the layers visible on the right in the layers palette. I made them invisible for making the download file size smaller.
Now it should look like this:
………………..
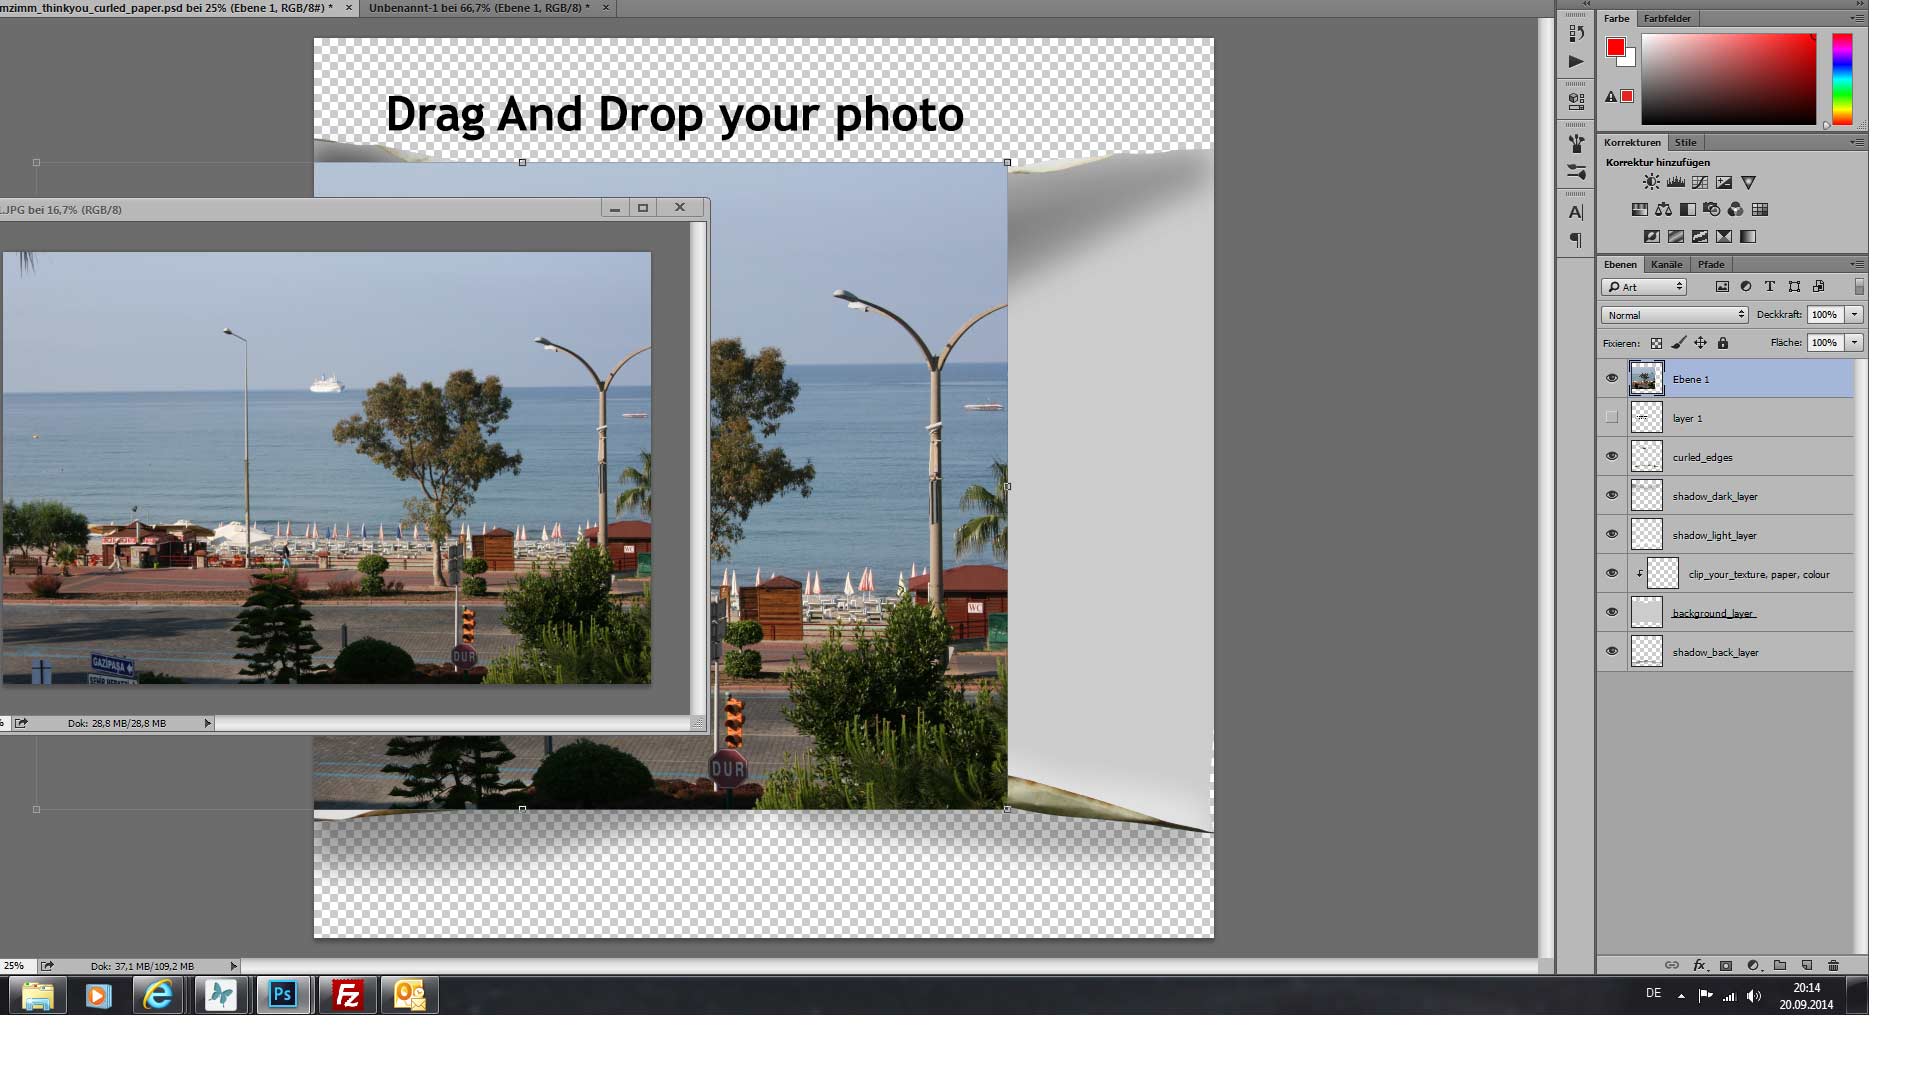
3rd – Open the photo (or paper/texture) you want to use.
I just took a picture of the view from our hotel last year during our vacation 🙂
Drag and drop the photo to the curled paper file:
………………..
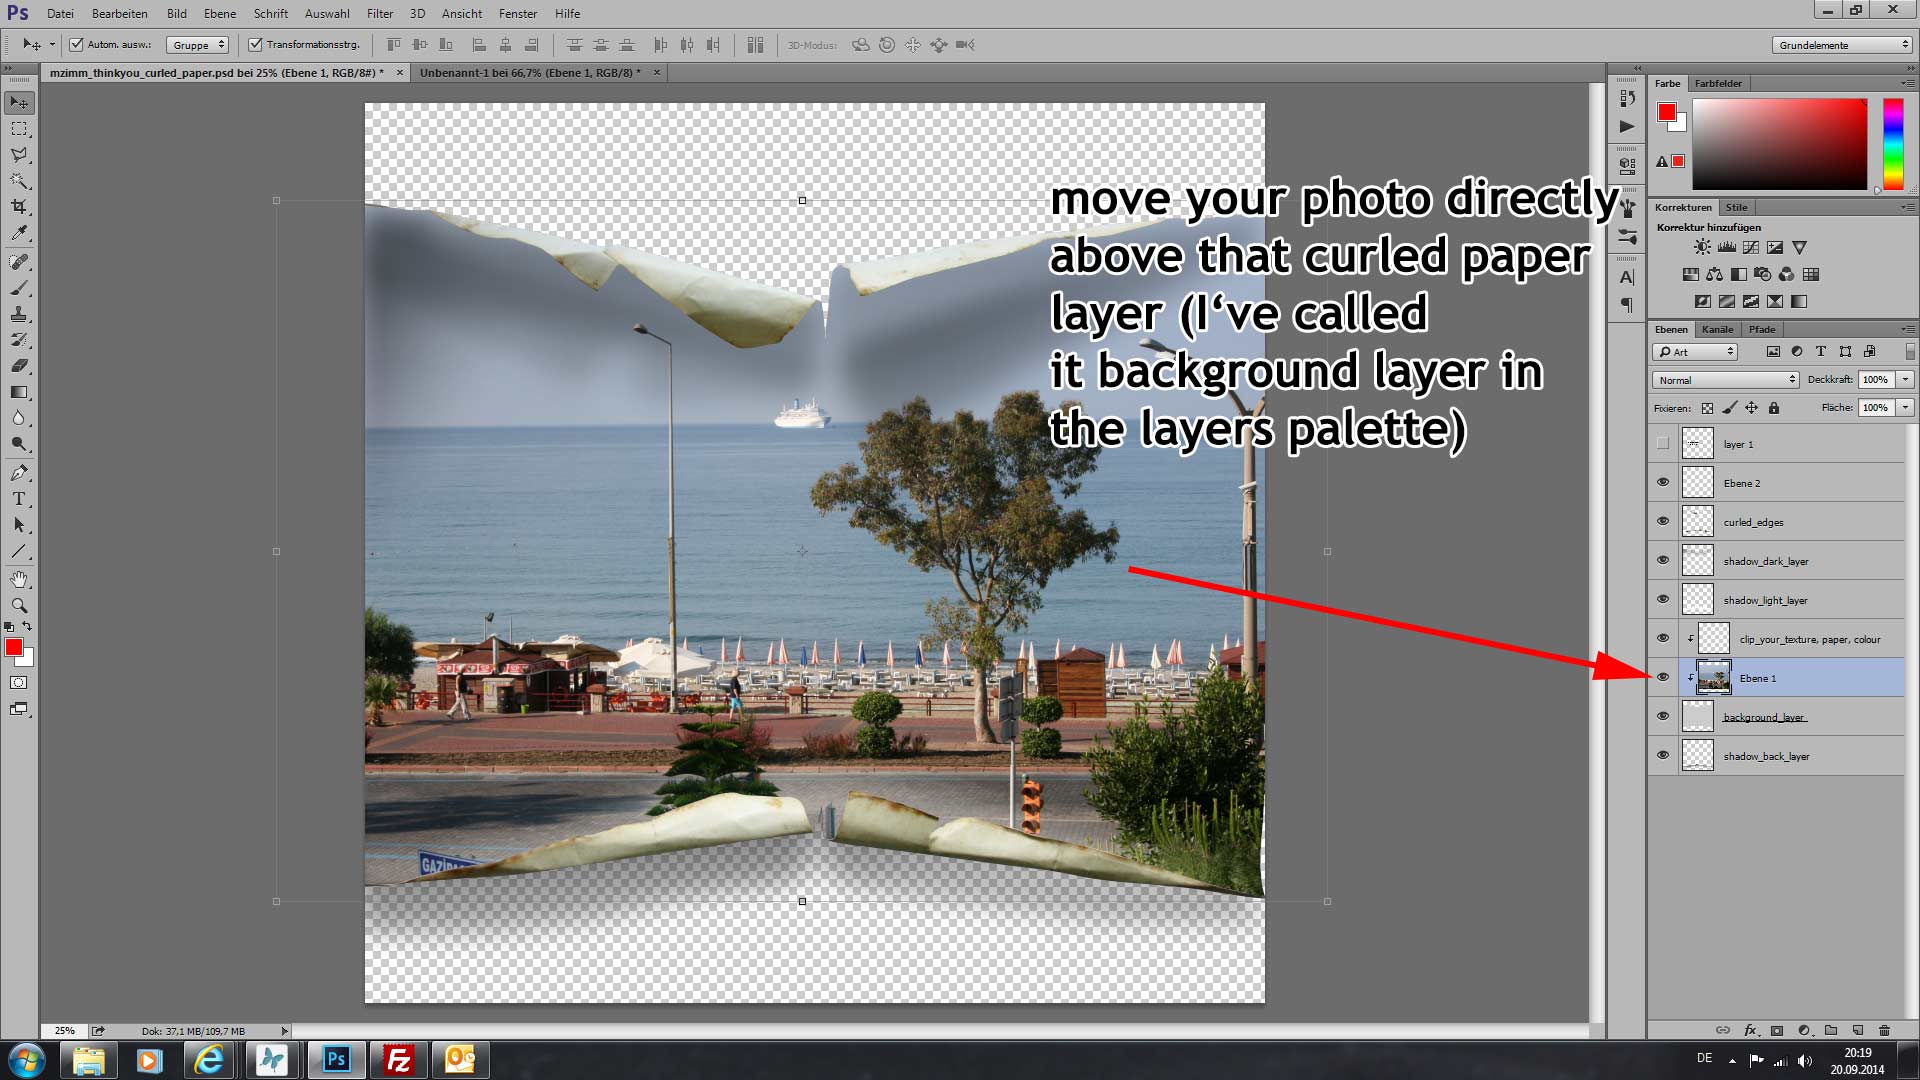
4th – Now you just need to move the photo directly on top of the curled paper layer.
It should automatically look like in the image below, but if in any case it looks not like this
you have to make/create a clipping mask.
(The photo on top of the curled paper layer, right click with your mouse on the photo in the layer palette and chose clipping mask from the drop down menu)
But it really should work automatically.
You can combine all the layers to one layer and continue working now.
………………..
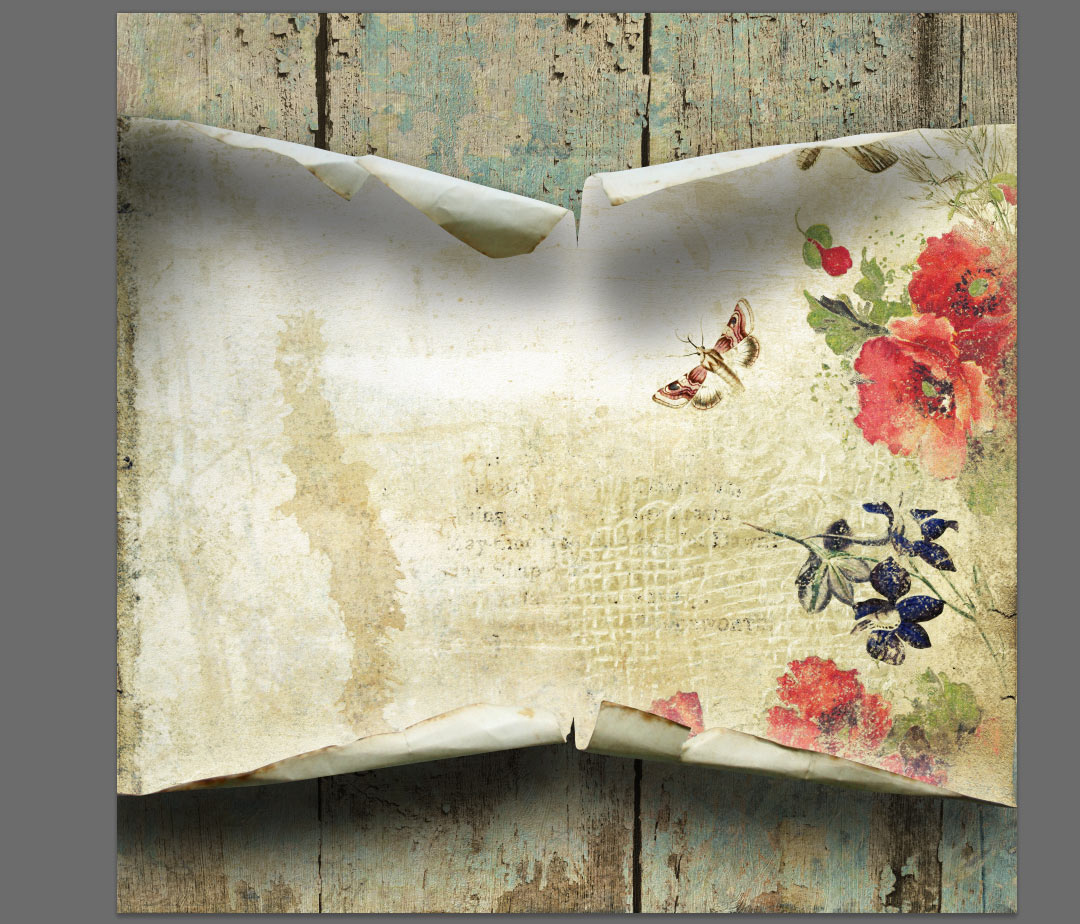
In the sample below I used a paper from the same page kit – you see it so easy and everything is possible 🙂
Click here to see a few Inspiration Pages and that curled paper in action
………………..
Quick Page Freebies:
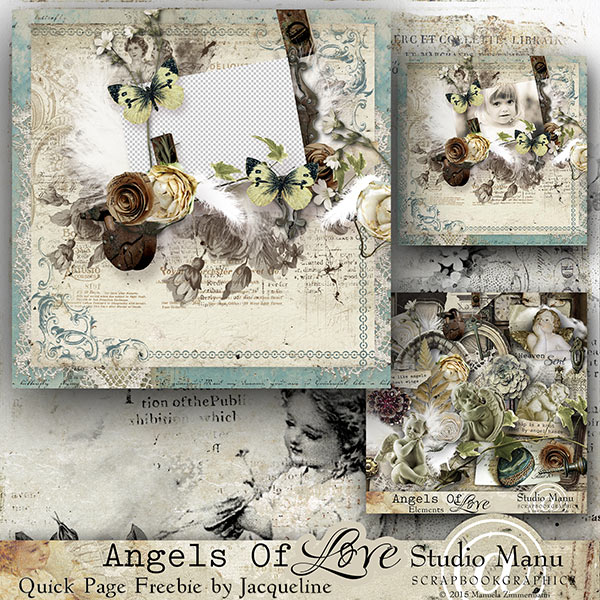
Jacqueline made such a lovely page using my latest collection: Angels In Love
I just love that cute photo of her daughter, how she worked with the stamps and the composition with the lace behind the
background paper – really beautiful!

All Studio Manu Newsletter Subscribers will get this super stunning Quick Page later today –
Thank you so very much, Jacqueline <3
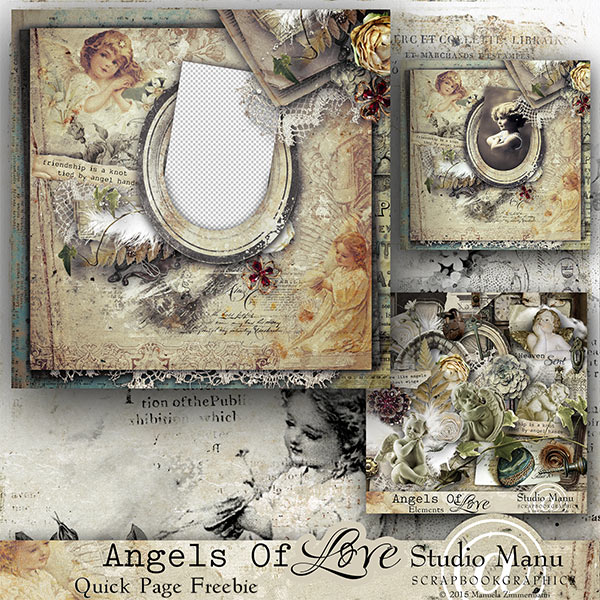
Blog Freebie
And here right away you can grab another Quick Page created by me.
Please click the image or the link below:
You are awesome. Thank you so very much for this tutorial. I have loved seeing pages like this for so long and always wondered how on earth were they made. I truly appreciate your doing this tutorial. A big thank you for the beautiful QPs — love them.
Thank you so much Carol 😉
toujours très beau j’adore
Gorgeous! I have always want to do a torn curled paper, Thanks so very much for your
generosity, and gorgeous kits.
Thank you so much for the beautiful qps and also the tutorial!
Thank you so much! Your work is wonderful 🙂
Thanks so much for all the freebies, grapped the collection. 🙂
Thank you so much for the lovely freebie QP’s, add-on and the tutorial, greatly appreciated.
I cannot thank you enough for all your advice and gift. Thank you. Kay